2. Installation and Your First Five Minutes
Import the package, run the 60-second Motion Lab demo, and read the one console line that confirms everything works.
2.1 Import the package
CGS installs like any other Asset Store package:
- Open your Unity 6.3 LTS project (or create a new one — any template works).
- Open Window > Package Manager.
- In the dropdown at the top left, choose My Assets.
- Find Common Game System in the list and click Download, then Import.
- When the import dialog appears, leave everything selected and click Import.
Tip — In the import dialog, leave everything selected. Deselecting folders on your first import can remove pieces the framework needs. You can always delete samples or docs later — they are plain files in your project.
Unity copies the files and compiles for a few seconds. When compilation finishes, the CGS Welcome window opens by itself. That window is your home base; chapter 3 covers it in full.
2.2 What to expect: code, not scenes
After the import, your Project window will show mostly C# scripts and documentation. That is normal. CGS is a code framework — its value appears when you press Play and when you write scripts, not as prefabs to drag around.
Two things are immediately visible and worth knowing about:
- One demo scene.
Assets/CommonGameSystem.Core/Demo/MotionLab.unity— a runnable showcase you will open in a moment. - The documentation folder.
Assets/CommonGameSystem.Core/Documentation/— this manual as a PDF, plus one reference page per service underModules/.
Everything else — samples, tests — stays hidden until you ask for it from the Welcome window. Your project stays clean.
2.3 The 60-second demo
Before writing any code, see the framework run. This takes about a minute:
- Wait for the import to finish compiling. The Welcome window opens on its own.
- In the Welcome window's top section, Try the demo — 60 seconds, click Open Demo Scene. (You can also double-click
MotionLab.unityin the Project window.) - Press Play. No setup, no prefabs, no configuration — the scene works as imported.
- Watch the easing gallery animate, then interact with the other controls (described below).
- Drag the Time Scale slider to zero. The gameplay animations freeze — but the small UI clock spinner keeps turning.
- Look at the Console window. Near the top of the Play session you will find this line:
bootstrap complete (v2.1.0, 23 services)
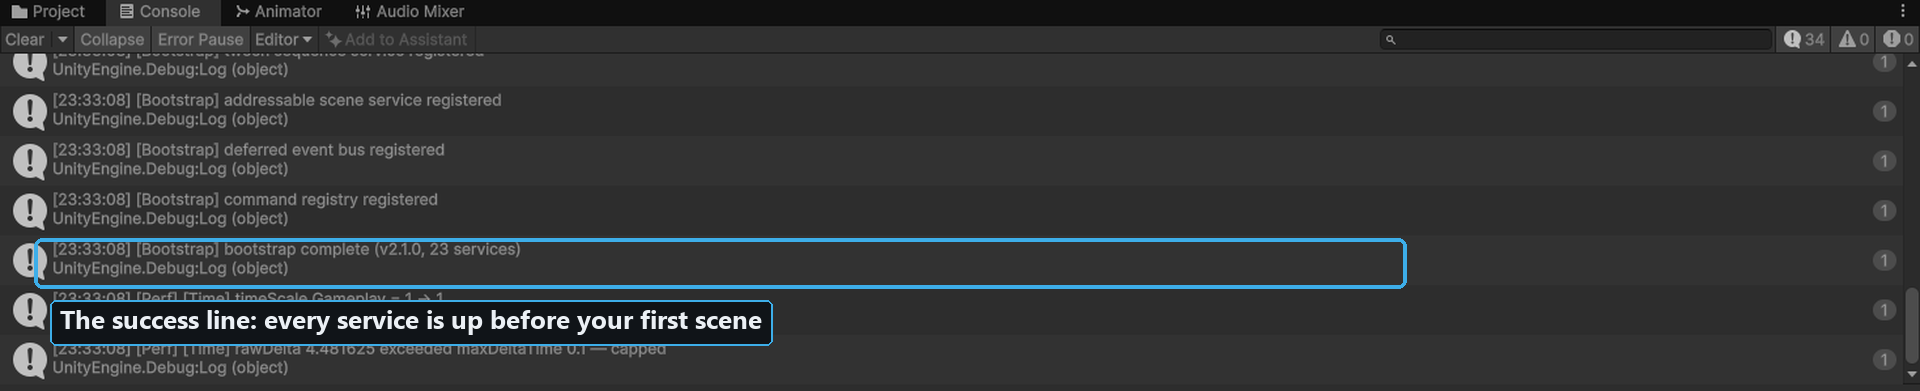
Step 6: the Console window with the boot line highlighted. This single message confirms all 23 services started before your scene ran.
That console line is the whole installation story. All 23 services registered themselves automatically, before the first frame, without you adding a single component. Every project you use CGS in starts the same way.
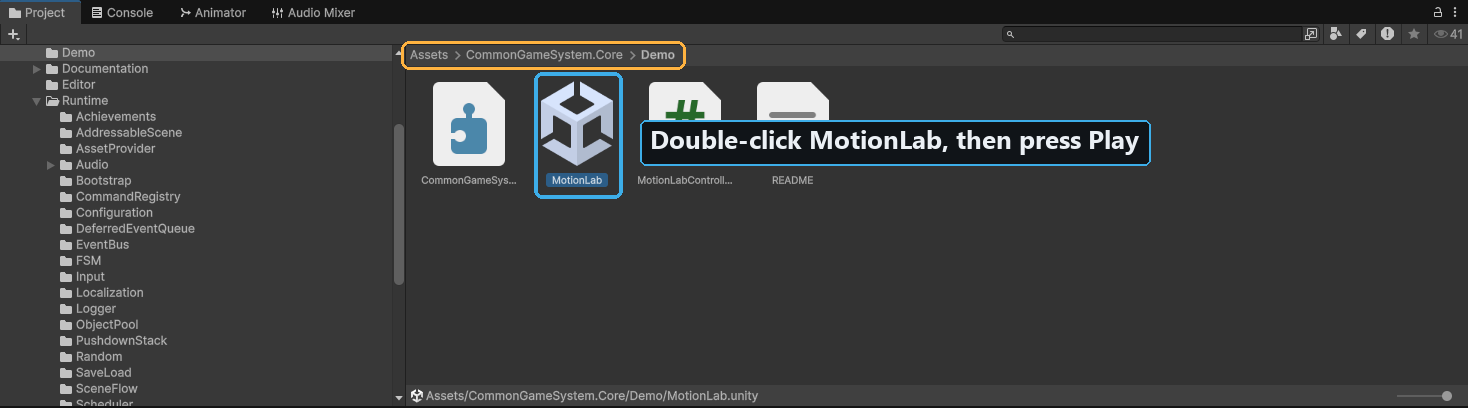
Step 2 alternative: the Project window with the Demo folder expanded and MotionLab.unity circled — the only scene CGS puts in plain sight.
2.4 What Motion Lab is showing you
Motion Lab is not a tech demo for its own sake. Each element on screen demonstrates one service you will use in your own game:
| On-screen element | What it demonstrates |
|---|---|
| Easing gallery | The tween service (ITweenService). Each tile animates the same movement with a different easing curve, so you can pick curves by eye instead of by name. |
| Time Scale slider + UI clock | The time service (ITimeService). Gameplay and UI run on separate clocks. The slider slows or freezes the gameplay clock; the clock spinner runs on the UI clock and never stops. This is how you build pause menus that stay animated. |
| Tween-sequence showcase | The tween-sequence service (ITweenSequenceService). Several tweens chained into one timeline — steps that run in order, and steps that run in parallel. |
| Scheduler timers | The scheduler (IScheduler). Counters driven by repeating timers and one-shot delays, firing in the order they were scheduled. |
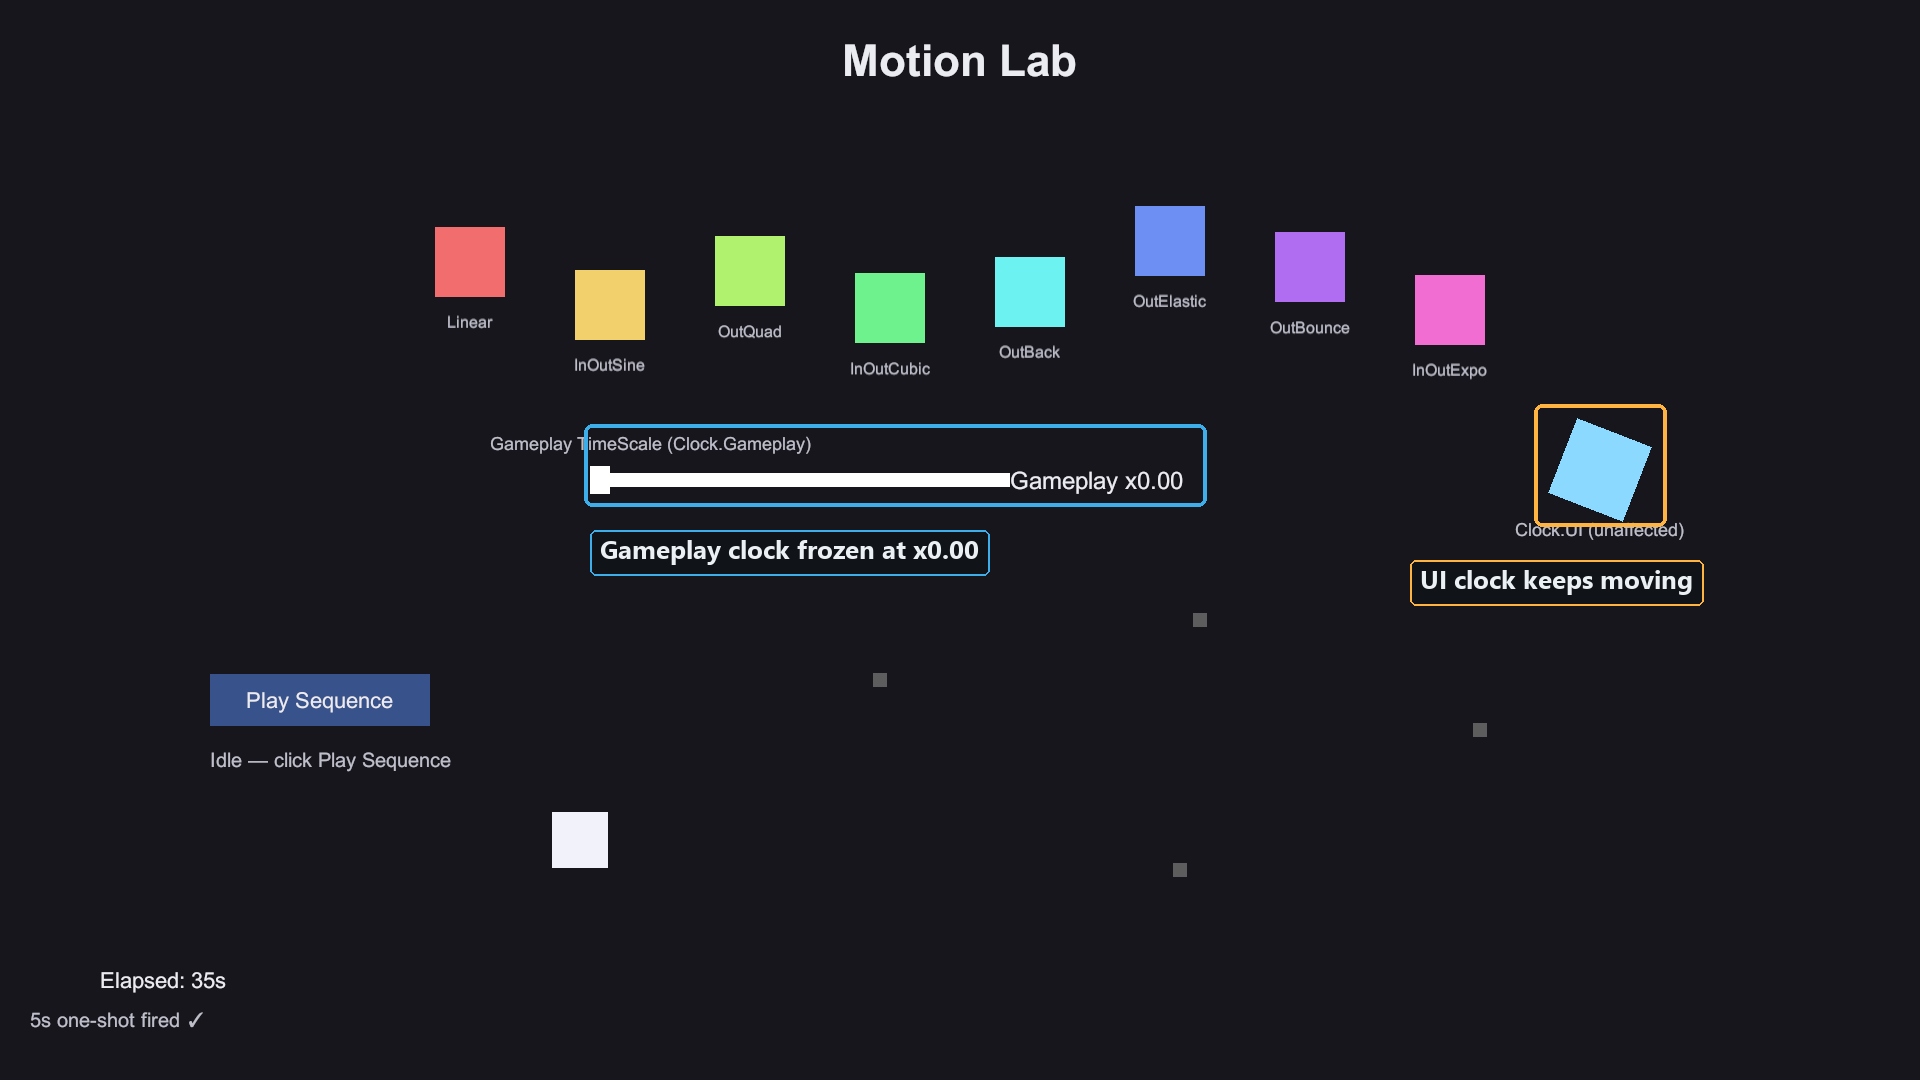
Step 4–5: Motion Lab in Play mode. Callouts mark the frozen Time Scale slider and the still-running UI clock; the easing gallery (top) and the sequence and timer area (bottom left) complete the screen.
When you are done, stop Play mode. You have now seen tweening, per-clock time control, sequencing, and timers — four of the services you will call from code in chapter 4.
2.5 Troubleshooting: "the Welcome window didn't open"
The Welcome window auto-opens once per package version. If you closed it, or it never appeared (some editor layouts suppress pop-ups during import), open it manually. Both of these menu paths work:
- Tools > Common Game System > Welcome
- Window > Common Game System > Welcome
If you only need the demo, you can skip the window entirely: the scene lives at
Assets/CommonGameSystem.Core/Demo/MotionLab.unity. For samples and tests, reopen the window — it is the one-click home for both (chapter 3).